Little Wheels, Big Smiles
This article first appeared in the July 2022 issue of Adventure Cyclist magazine.
It’s easy to get caught up in the daydream of pedaling along tree-lined trails, breaking for a warm meal at a local eatery, and pitching a tent at a campsite that provides the most amazing sunset views. Many cyclists may think of these dreams as far-fetched once children or grandchildren come into the picture. However, with a bit of preparation, families large and small can still enjoy bicycle travel. Touring with children of all ages can be an unforgettable learning and bonding family experience.
As the parent of an eight-year-old daughter, Elizabeth, and a 15-year-old son, Elijah, touring with my kids when they were younger seemed like a monumental task. Thankfully, options for riding with children have significantly improved over the years. Advanced preparation and readily available resources will reduce touring stress and ensure that you and your kids have a great time.
Preparing For the Trip
If you are new to bike touring and need ideas or have questions about how to get started, Facebook Groups are a great place to begin. A Facebook search for “Bicycle Touring with Kids,” “Family ByCycle,” or “Cargo Trikes and Family Bikes” will yield private groups with more than 3,000 members each. Families in such groups are actively touring with their children, members often share their touring experiences, and some families have completed multiday 50- to 100-mile rides, and they love to share what they’ve learned. Members are most often accessible, responsive, and informative. With an extensive catalog of pictures and videos of families touring by bike across the U.S., Mexico, and beyond, these real-life examples show that touring with kids is not only a possibility but also a reality.
Reading about family touring experiences can be motivating but also overwhelming, and these online communities help demystify the logistics. One post included a mother with four kids: one child sat in front of the mom, two children sat behind the mom on a rack over the rear wheel, and the infant was being towed in a trailer behind the bike. You can also find “flat lay” posts, pictures shot from a bird’s-eye view that shows a full layout of bikes, helmets, panniers, sleep systems, shoes, and even diapers. Some users find flat lay posts especially helpful in planning their own trips, as they depict exactly what items the poster packed and provide a checklist of sorts to ensure not only those essential items are packed but to also prevent overpacking.
These groups are also helpful for gear recommendations and reviews on a number of essential items that bikepackers need. Members share their feedback regarding whether a particular tent set is durable enough for a large family or provide feedback on bike trailers and their varying degrees of sun and rain protection. Other recommendations cover everything from the best cargo bike options for infants and small pets to bike options that can extend beyond trails and tours to daily commutes.
Bike
Now that you and your family are motivated to tour by bike, the next step is to make sure you are properly equipped. Children’s and adult’s bikes, and even bike trailers, should be checked to ensure they are mechanically prepared for whatever adventure you have planned for your family. Tires, chains, handlebars, shifters, seats, brakes, water bottle cages, spokes, and cables should be checked to ensure proper functionality. Loose and worn parts should be replaced to ensure safety. Your local bike shop is a recommended first stop. If your local shops are too busy and you are mechanically savvy (and even if you are not), use Google, YouTube, or the manufacturer’s website to check and replace necessary parts.
Tires
Next, determine the primary type of terrain for your trip. Mostly paved or smoother gravel roads may require narrower and less aggressive tires than looser gravel or rougher terrain, which may require wider, knobby tires. Using knobbier tires on smoother terrain could result in a much slower ride; conversely, smoother tires on loose gravel could spell disaster in the form of a tire tear, puncture, or losing grip on the road when it is needed most.
Terrain
Ride with GPS and Strava provide terrain estimations that can be helpful in choosing the right tires for your bikes. In addition to understanding how much of the terrain is paved versus unpaved, it is also recommended that you try to identify how loose and rough any unpaved surfaces may be. In addition to risking a flat, bike and trailer discomfort could be a real issue, especially for younger riders. Once again, the internet to the rescue. Resources like Gravelmap, which describes itself as “an interactive database of gravel and dirt roads and paths, submitted and managed entirely by people who ride them,” can help you to determine how much off-road riding you should be prepared for. If you have pictures of the roads that you will be riding on, the Industry Standard Guide to Gravel created by Neil Shirley is another tool to help you choose the right tires based on the terrain for a more comfortable ride.
Fit
Bike touring is most enjoyable when contact points, where the body and the bike come into contact, are comfortable. These include the hands (handlebar), undercarriage (saddle), and feet (pedals). Discomfort at any contact point can adversely impact the distance, time, and enjoyment of any tour. As such, making sure that you and your kids have the right size bike is of utmost importance. If possible, a bike fit by a qualified fitter is recommended for adults to ensure the most comfortable and enjoyable touring experience. A professional fit can be costly, though. If you are short on time or cash or both, a lay bike fit guide such as the one provided by REI could be a solution. This guide covers bike fitting basics for adults and children. If possible, use a full-length mirror to help guide your bike fit. Finally, annotate key fittings by marking them with a color Sharpie or tape. For example, marking the height of the seat can be helpful, especially if it needs to be adjusted up or down.
Tools
On the ride, having your bike tool kit readily available can be the difference between a momentary break or an extended intermission to unpack a pannier to find necessary tools. Attaching the bike repair kit to the saddle rails, bike frame, or in a bottle cage can yield significant time savings and keep frustration at bay. Additional equipment needed for your family tour may include a bike rack over the front or rear tire to accommodate panniers or a bike rack bag. Such storage systems, depending on the size, can be used to carry clothes, diapers, food, blankets, sleeping bags, and other necessities. The length of your trip will determine not only what but also how many of any necessities you plan to carry.
Towrope
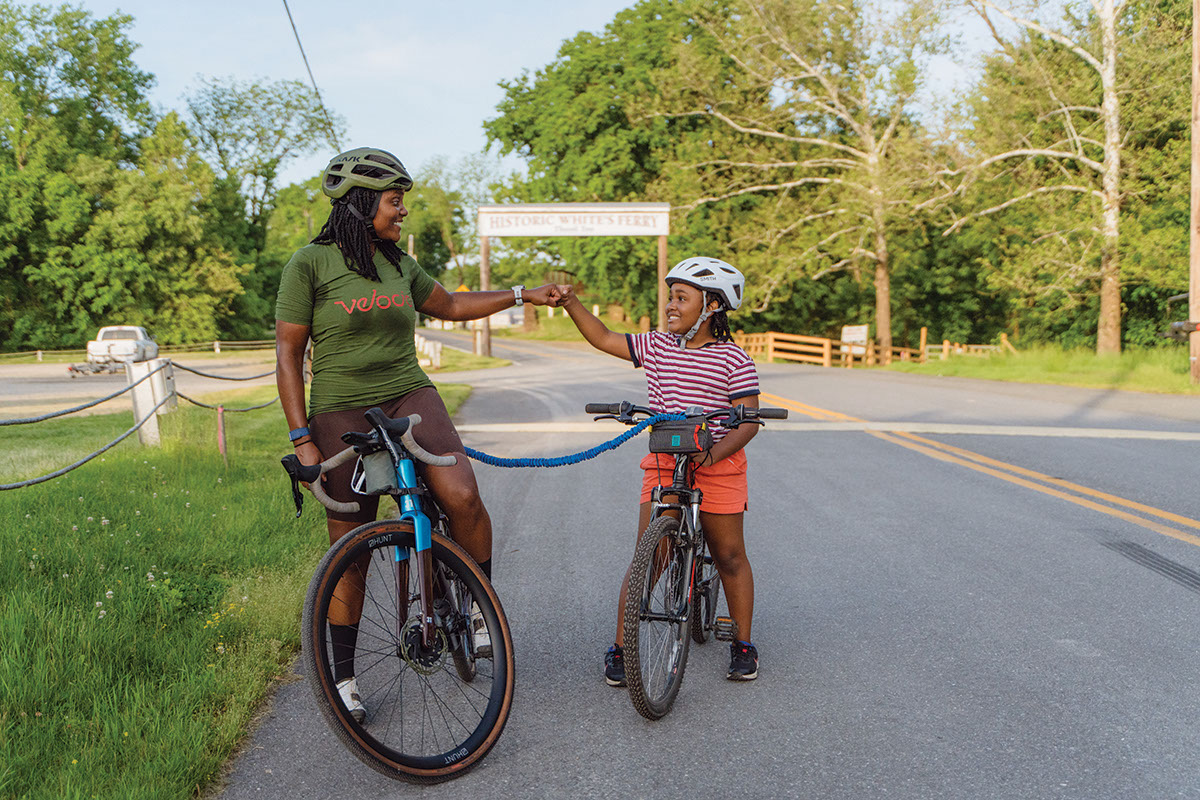
An often necessary but equally forgotten piece of equipment is a towrope. The TowWhee is a lightweight strap containing a military-grade bungee cord inside a webbing rated to 1,500 pounds. With a number of variations available, the TowWhee can allegedly tow up to 500 pounds. Instances where a towrope can be especially handy include when an older child is riding alongside an adult and becomes tired. The towrope connects from the saddle of the adult rider to the child’s handlebar. On courses that include inclines, this can be very helpful as it allows the child to rest while being towed by an adult. Everyone continues moving forward and the fun element is preserved. In an emergency, a towrope is also helpful if all options to fix a flat have been exhausted and the bike needs to be towed to a point for servicing.
Route
Once all your equipment is ready, finalize your trip and your route. You can use the same mapping tools you used to check the terrain, plus a bit of research to find nearby accommodations. Make your family bike tour an enjoyable experience for everyone: identify planned stops for food, water, rest, and shelter in case of inclement weather. Along well-traveled routes like the C&O Canal towpath, identifying stops up front helped my daughter Elizabeth and I manage expectations early on.
Trail Time
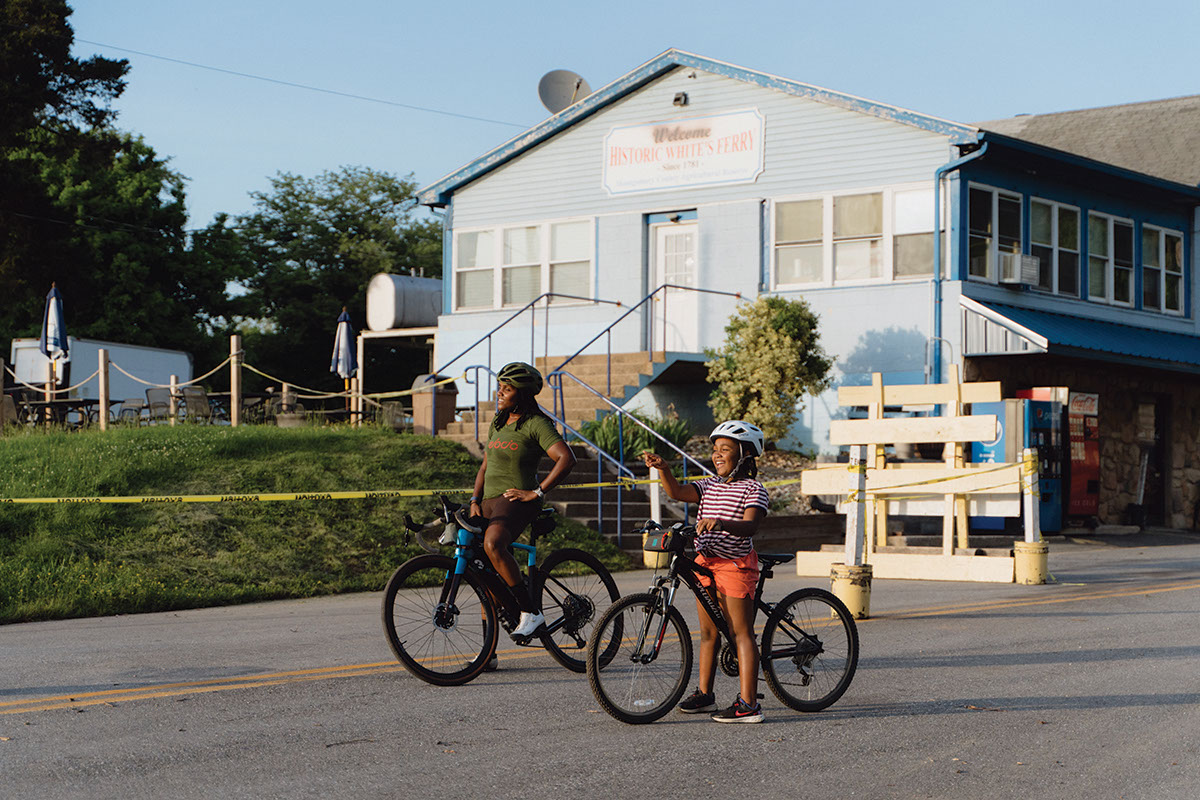
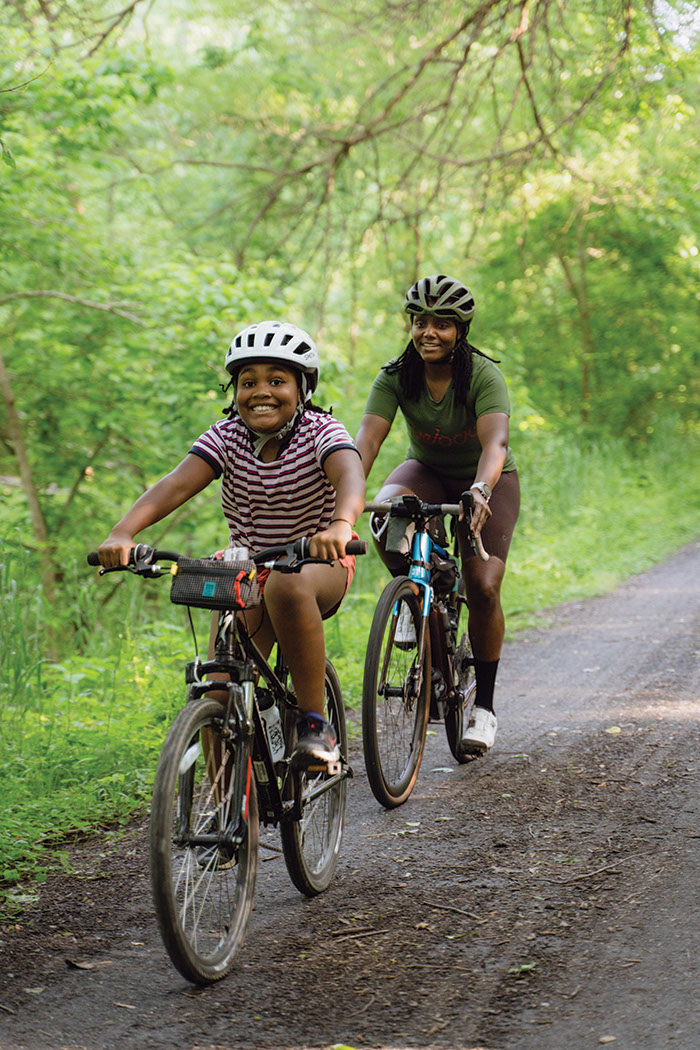
Family members, check. Equipment, check. Food, hold on. If your children are anything like mine, they are only hungry when it’s time to leave. For my daughter’s first bike tour, we started at the Historic White’s Ferry, the last operating ferry on the Potomac River, which shuttered in 2020, in Dickerson, Maryland. I selected this location because of the smoother limestone texture, easy access to the trail, and the White’s Ferry store. With a variety of food options and beverages, she felt that this was a special trip where she could choose some options. After ordering and eating half of her sandwich, she packed the other half in her handlebar bag.
With an aim to prioritize fun and keep things interesting, we rode toward Point of Rocks. Taking in the quietness of the towpath, Elizabeth was frightened by a rather long water snake crossing the trail. This encounter was offset by her riding to chase the occasional butterfly.
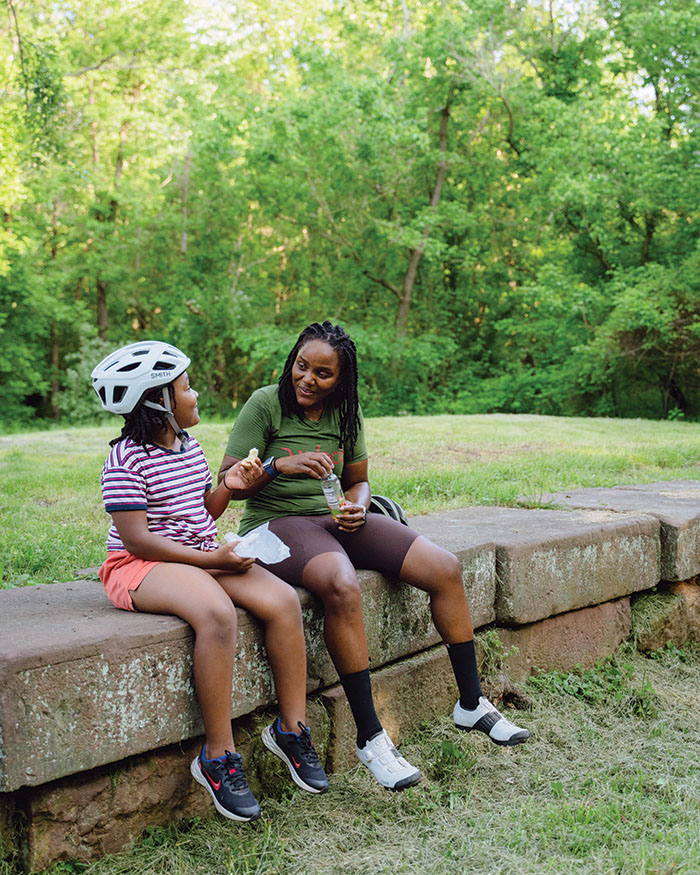
As we rode, she noticed the Marble Quarry campsite about 2.5 miles into the ride. With a promise to stop on the way back, we continued several miles to the Monocacy Aqueduct. This historic aqueduct, the longest on the canal, was the perfect opportunity for a quick water break and a moment to take in the bustling Potomac. The river was higher than normal due to multiple days of heavy spring downpours. Soon gnats began to linger, and she was ready to roll again. After pointing out the Indian Flats campsite, we took a brief pause at Nolands Ferry. Having researched the area’s history in preparation for this ride, I shared how travelers long ago crossed the river here to head into Maryland and Pennsylvania. This piqued her interest as she has friends and family in Maryland. What was intended to be a quick history lesson bloomed into a more Jeopardy-esque session. Her questions seemed to be in tune with her cadence, but I didn’t mind her thoughts wandering and digressing to topics that had nothing to do with the original history lesson. A few miles later, we came upon Calico Rocks campsite, where she shared her newfound historical knowledge with several campers and a few riders pausing for a break. They were kind enough to indulge her curiosity before we rode to our turnaround point, Point of Rocks.
As Elizabeth parked her bike and headed for the bench, her eyes grew large as she noticed two horses along the trail. With her imagination running wild, she gave each horse a name and created a story about where they were headed. Noticing the sun at its peak, I didn’t want to chance staying too long so we bid Point of Rocks adieu and headed south. With several miles to go, her pace slowed considerably, and she began talking less. She was tired. Without skipping a beat, I reached for the TowWhee and connected our bikes.
She enjoys our connected ride sessions so much that I sometimes wonder if she purposely rides slower so that I will connect our bikes. Regardless, I knew that she was tired, and I didn’t mind towing her the remainder of our trip. We stopped at the Marble Quarry campsite as promised, and if we had camping gear she would have taken her nap. With less than three miles to go on the very flat towpath, we sang her favorite jingle, “Three Little Muffins.” As we made our way back to White’s Ferry, several raindrops hit our faces. “Just in time!” I yelled as she laughed.
As I packed our bikes and gear into the minivan, she asked a question that I secretly hoped to hear.
“Can we do this again?”
“Of course we can,” I replied.
Ride Lessons
During our ride, I prioritized breaks based on my daughter’s tolerance and attention. Sometimes a flower caught her eye and she wanted to pause; however, after the snake encounter, she rode as though it was the Tour de C&O. Having planned a few deliberate breaks helped me to remember to stop before she became exhausted. Our history lessons, coupled with picture-taking sessions, equipped her with several nuggets of knowledge that she was proud to share with her teacher and friends the following week. After the ride, she was in a comatose state for the entire drive home. Later that evening, I asked her what she enjoyed most about the ride, what she learned, and whether she would like to ride that route again or try another spot along the canal. Her feedback was unsurprisingly positive, and I felt that this was a win in multiple ways. Our day trip from White’s Ferry to Point of Rocks was just shy of 25 miles. The time spent and lessons learned made this a fun and memorable experience. She is looking forward to our next ride, and I’d be lying if I didn’t admit that I am equally excited. For our next trip, I will allow her to choose where we start and what direction we ride in. Harpers Ferry would be great for our next bike tour.

